Getting Started
Installation
The package is not planned to be available as a Nuget, but expected to be used as a platform / start of a HogWarp server development, either by using it as a base, or using it alongside your own functions / features. The following steps will guide you through necessary installation steps.
Prerequisites
- .NET8
- MongoDB - We recommend the community edition & installing the MongoDBCompass, a database viewer
- HogWarp - At least Version 0.8.0 - beta 2
- Pillars - Clone / download the project
- The IDE of your choice - We recommend Rider
Step 1 - Environment & Configs
The framework comes with a variety of .template files for your local environment and configuration.
Clone / copy each file at their respective location and remove the .template file ending and adjust their contents accordingly.
For more information, please follow the Configuration guide.
Step 2 - Build & Start
If the environment and configuration is set up correctly, the final build solution should automatically be placed in the corresponding Mods subfolder.
You can now build your solution.
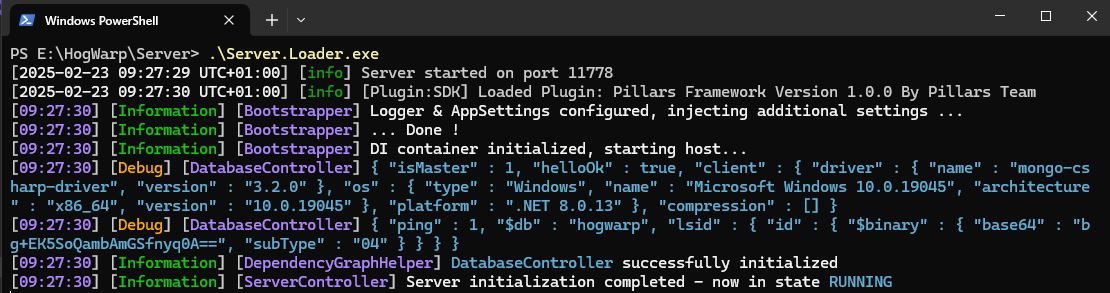
You can now start your server by executing the Server.Loader.exe.
If everything went successfully, you should now see something similiar to this:
(Optional) Debug
The official HogWarp documentation has an excellent guide to enable debugging of your server. Give it a read!
Step 3 - Start developing
You can now start developing your own server. Feel free to check out the guide to write your own First Module.